Changing your car’s oil is a necessary task, but it can be messy. Not cleaning up the leftover oil after an oil change can lead to some major problems. The leftover oil can be difficult to clean up, and if not done properly, can damage your car’s engine.
The oil will harden and become very difficult to remove, and it can cause corrosion in your engine. Therefore, cleaning up the leftover oil after an oil change is a must-do task. By using a degreaser and a brush you can quickly clean up the mess and protect your car’s engine.
In this blog post, we’ll show you how to clean oil pan after an oil change by using a few simple steps and tools.
What's in this post?
How to Clean Oil Pan After Oil Change Step by Step
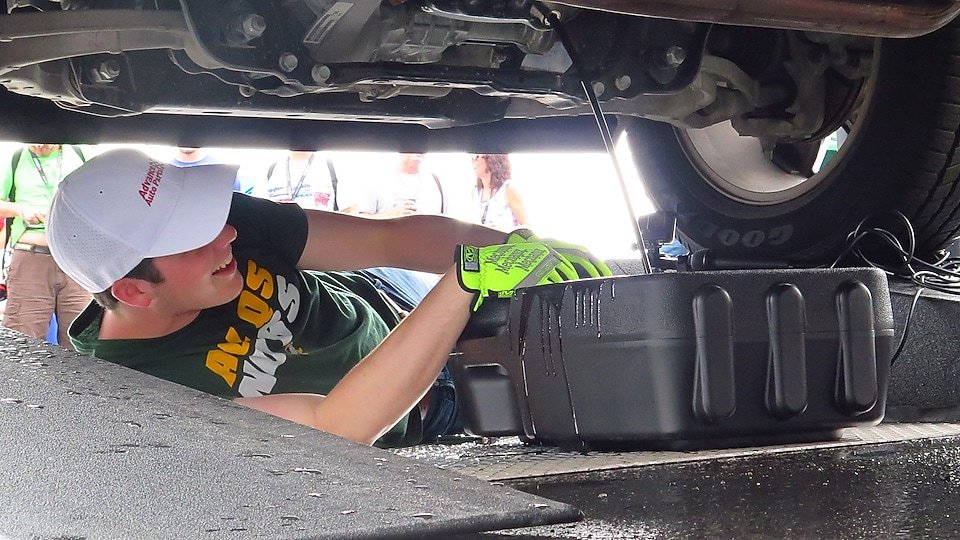
What you will need
- Degreaser
- Brush
- Wrench
- Clean rags
Step 1: Prepare the workplace
Park your car on a level surface and put it in park. Make sure that the engine is turned off and cooled down before beginning this project.
Place a drip pan or some clean rags underneath the oil pan to catch any excess oil.
Step 2: Unscrew the oil plug with a wrench and let the oil drain into the garbage can.
Before changing your oil, it is important to unscrew the oil plug with a wrench. This will help to ensure that all of the old oil is drained out, and that no new oil leaks in.
The oil plug is usually found on the bottom of the engine, near the oil pan. To find it, consult your car’s owner’s manual.
Once you’ve located the oil plug, place the wrench on the plug and turn it counterclockwise to loosen it.
If the plug is stuck, use a little force to get it started. Once the plug is loose, finish unscrewing it by hand. Be careful not to drop the plug into the oil pan, as this could damage the threads.
Step 3: Spray degreaser onto the oil pan and let it sit for a few minutes.
Spraying degreaser onto the oil pan is an easy way to remove oil and grime build-up. There are many different brands and formulations of degreaser available on the market, so it is important to select one that is specifically designed for use on automotive parts.
Once the degreaser has been selected, the next step is to prepare the work area. This includes laying down a drop cloth or newspaper to protect surfaces from overspray.
Once the work area is prepared, the degreaser can be sprayed directly onto the oil pan. It is important to follow the manufacturer’s instructions for application and safety precautions.
Allow the degreaser to sit for a few minutes before proceeding to the next step. This will give the degreaser time to break down the oil and grime.
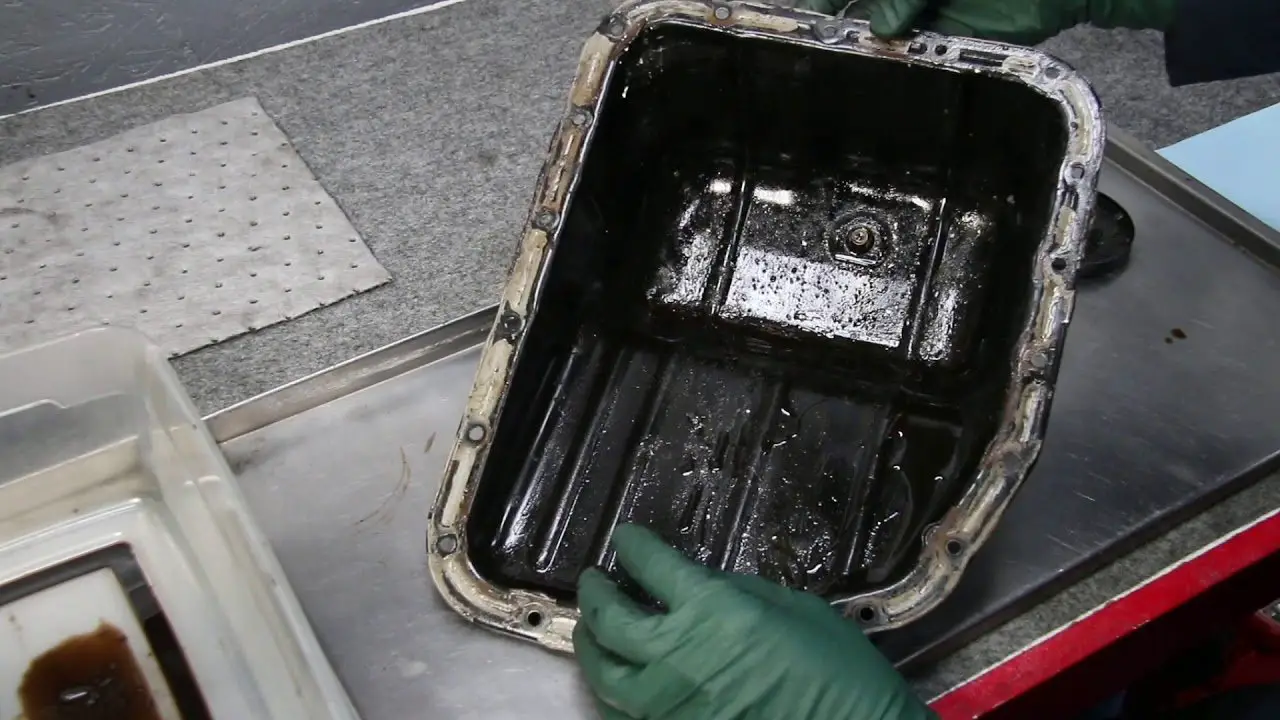
Step 4: Use a brush to scrub the oil pan clean.
After letting the degreaser sit for a few minutes, it is time to break out the brush and start scrubbing. A stiff bristled brush is best for this task, as it will help to loosen any stubborn dirt and grime.
Start by scrubbing the sides of the oil pan, and then move on to scrubbing the bottom. Be sure to get into all of the nooks and crannies, as this is where oil and dirt can build up the most.
Once you’ve given the pan a good scrubbing, rinse it off with water to remove any lingering degreaser.
Step 5: Wipe the oil pan dry and screw the oil plug back in.
Once the oil pan is clean, dry it off with a clean rag or paper towel. This will help to prevent rust and corrosion.
After the oil pan is dry, it’s time to screw the oil plug back in place. First, make sure that the oil plug is clean and free of debris.
Next, align the oil plug with the hole in the engine block. Once it is aligned, screw the oil plug in by hand until it is snug.
Finally, use a wrench to tighten the oil plug until it is tight.
That’s it! By following these simple steps, you’ll be able to clean your oil pan after an oil change quickly and easily. Not only will this help to extend the life of your car, but it will also help to keep your engine running smoothly.
Useful read: How To Tell If Engine Is Damaged From No Oil
How important is the oil pan in engine?
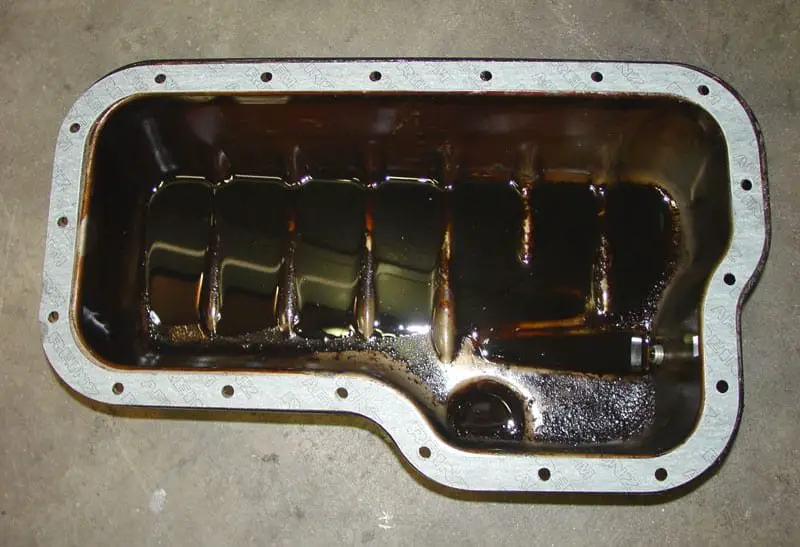
The oil pan holds the oil that lubricates and cools the engine. It helps to hold the oil in place and keep it from being leaked or splashed around.
This will help to keep the engine clean by trapping dirt and debris. Over time, this build-up can disrupt the engine’s performance, so it’s important to regularly clean the oil pan.
In addition, the oil pan helps to regulate the temperature of the oil. Without it, the engine would overheat and seize up.
The oil pan is usually made of metal or plastic. The metal oil pans are usually more durable and help to protect the engine better. However, the plastic oil pans can be cheaper and easier to replace if they become damaged.
In addition, the oil pan helps to protect against engine knock by reducing noise and vibration. As a result, a well-maintained oil pan is essential for ensuring that an engine runs smoothly and efficiently.
Useful tip: How to do oil change light reset?
Is oil pan and oil pan gasket the same thing?
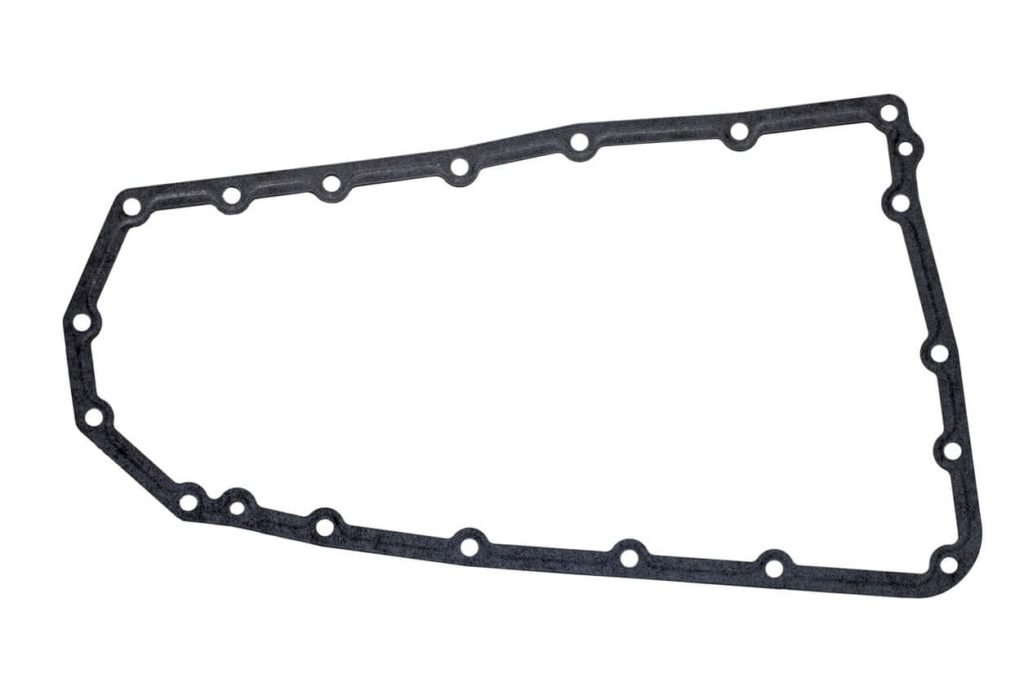
No, oil pan and oil pan gasket are not the same thing. The oil pan is a metal container that holds motor oil and is located at the bottom of the engine. The oil pan gasket is a rubber or cork gasket that seals the joint between the oil pan and the engine block.
Over time, the oil pan gasket can wear out and need to be replaced. If you are unsure whether you need an oil pan or an oil pan gasket, it is best to consult a professional mechanic.
How do you clean an oil pan gasket surface step by step?
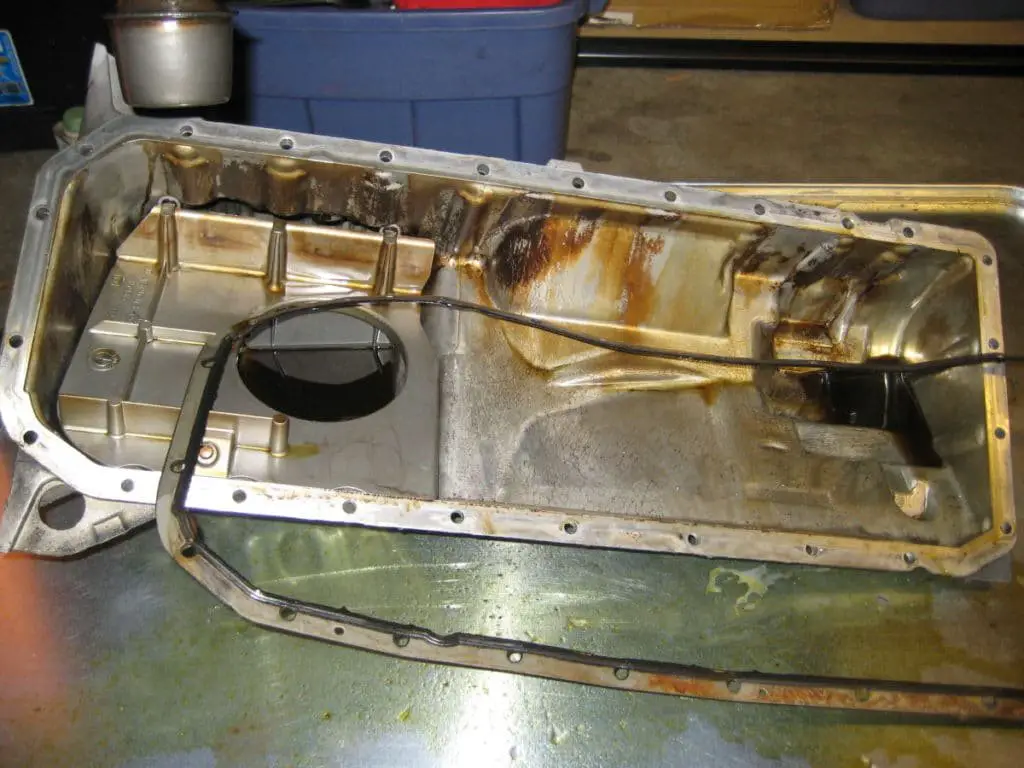
Assuming you have already removed the old gasket from the oil pan surface, you will need to clean both the engine block surface and the oil pan surface in order to prepare them for the new gasket. Here is a step-by-step guide for cleaning an oil pan gasket surface:
- Use a putty knife or other sharp object to scrape off any old sealant or residue from the surfaces. Be sure to get rid of all the old gasket material.
- Once the surfaces are completely clean, use a degreaser to remove any remaining oil or dirt. You can also use WD-40 or another similar product.
- Wipe down the surfaces with a clean cloth until they are completely dry.
- Use sandpaper to rough up the surfaces. This will help the new gasket material adhere better. Be sure to sand both surfaces evenly.
- Now you are ready to install the new gasket! Follow the instructions that came with your gasket kit, and be sure to torque the bolts to the correct specifications.
Useful tip: Why is your oil light comes on and off but oil is still full?
FAQs about how to clean oil pan
Should you clean oil pan?
Yes, you should clean your oil pan every time you change your oil. This will help to prevent the build-up of sludge and debris over time.
In addition, regularly cleaning your oil pan will help to prolong the life of your engine. If you are unsure how to clean your oil pan, it is best to consult a professional mechanic.
Can you drive without an oil pan?
No, you cannot drive without an oil pan. The oil pan is essential for holding the motor oil that lubricates and cools the engine.
Without it, the engine would quickly overheat and seize up. In addition, the oil pan helps to protect against engine knock by reducing noise and vibration. As a result, driving without an oil pan is not recommended.
Why does my car leak oil from the oil pan?
There are a few reasons why your car might be leaking oil from the oil pan. The most common reason is that the oil pan gasket is worn out and needs to be replaced.
Another possible reason is that the oil pan itself is damaged or has a hole in it. If you suspect that your car is leaking oil from the oil pan, it is best to take it to a professional mechanic for further diagnosis.
Why is there sludge in my oil pan?
Sludge is a build-up of dirt, debris, and oil that can accumulate in the oil pan over time. This build-up can disrupt the engine’s performance, so it’s important to regularly clean the oil pan.
In addition, sludge can cause the engine to overheat and seize up. If you notice sludge in your oil pan, it is best to take your car to a professional mechanic for further diagnosis.
Can I change my own oil pan?
Yes, you can change your own oil pan if you have the proper tools and knowledge. However, it is best to consult a professional mechanic if you are unsure how to properly change an oil pan.
What is the average cost to replace an oil pan?
The average cost to replace an oil pan is $100-$1200. However, the exact cost will vary depending on the make and model of your car.
It is also important to note that changing your own oil pan can save you money on labor costs. If you are unsure how to change an oil pan, it is best to consult a professional mechanic.
When should I change my oil pan?
Most manufacturers recommend changing the oil pan every 30,000 miles or so, but it is a good idea to check your owner’s manual for specific recommendations.
In addition, it is important to regularly inspect the oil pan for leaks or damage. If you notice any leaks or damage, it is best to take your car to a professional mechanic for further diagnosis.
How can you tell if your oil pan is bad?
There are a few signs that your oil pan might be bad. The most common sign is an oil leak.
Other signs include:
- A burning oil smell
- Engine knocking
- Overheating
- Smoke from the engine
If you notice any of these signs, it is best to take your car to a professional mechanic for further diagnosis.
Conclusion
Always be sure to clean your oil pan after an oil change. This will help keep your engine running smoothly and prevent any build-up or corrosion.
You can use a degreaser or a simple soap and water solution to get the job done. Be sure to rinse the pan well and allow it to dry completely before putting the cover back on.
In addition to properly cleaning your oil pan, be sure to dispose of used oil and filters in a responsible manner. By following our guide on how to clean oil pan after oil change, you can keep your car running smoothly for years to come.

